


Setting up additional lines on your Ting Account
You can bring the whole family to Ting-yes, even grandma and grandpa. Add as many lines as you like, each with a new number or by transferring one from another carrier.
📌 Planning to bring your number? Grab your current account number and porting PIN from your provider-you’ll need them in Step 7.
Adding Lines to Your Ting Account
1. Log in to your Ting account
Head to the Ting dashboard and sign in with your credentials.
2. Go to Device Settings
Navigate to Device Settings in your account and select Activate a device.

3. Enter your phone’s IMEI
Dial *#06# on your phone to find your IMEI, then enter it into the field and click Check.
Need a hand finding your IMEI?

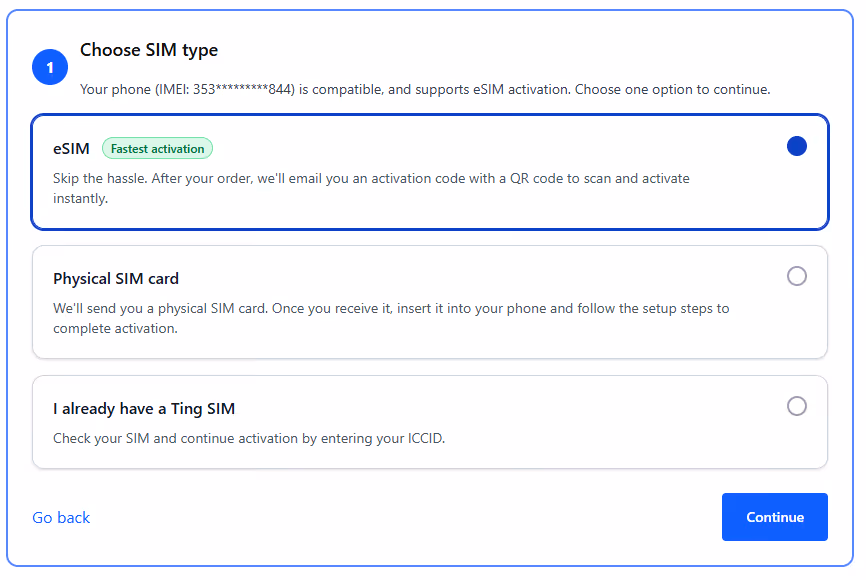
4. Get a SIM or check your SIM card
- If your phone is eSIM compatible, you can select the option for eSIM. We'll send you an email with the details after activation.
- If you prefer using a physical SIM:
- Select Physical SIM card to order a new SIM. We'll mail it to you.
- Already have a Ting SIM? Select I already have a Ting SIM. We'll ask for the SIM number in the next step.
5. Check your coverage
Confirm your coverage address and update if necessary. Click Continue to plan selection.

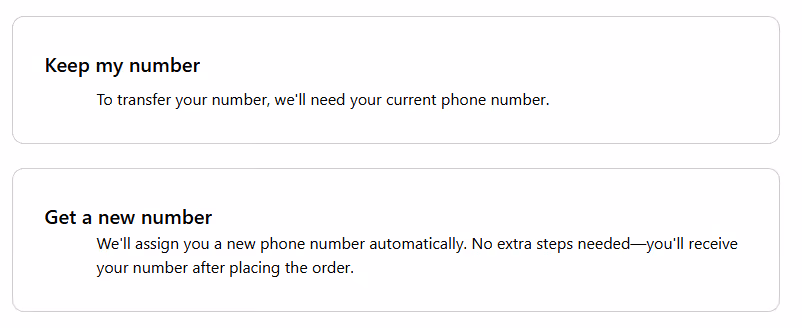
6. Select your number option
- Have a number you want to transfer to Ting? Select Keep my number.
- Enter your current phone number.
- Looking for a new number? Select Get a new number.
- Select your area code.
7. Update billing information
Review and update your billing details if needed, then select Review my order.

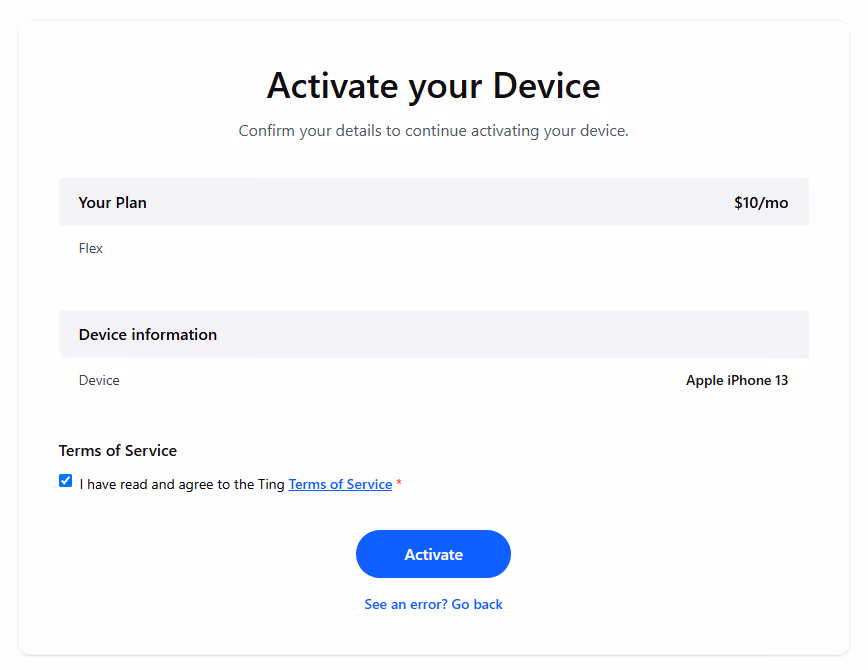
8. Confirm your activation
Review the activation summary. If all looks good, click Activate.
9. Activate your eSIM
- Your eSIM may download automatically on your device– Check for a push notification.
- Check your email for a QR code. Follow the steps in the email to scan the QR code and complete your eSIM setup.
- Having trouble completing your activation? Troubleshoot your eSIM activation.
10. Complete setup on your phone
Follow the prompts on your device to finalize activation.

.svg)